Adding Landscape Work Areas
In Elevation Advisor, you organize your proposal using Landscape Work Areas to keep things clear and focused.
To help better understand Proposals, we’ll use a real example of a landscape created by our co-founder’s company. In this
Elevation Advisor sample design a customer called about building a new patio in their backyard. During the conversation, they mentioned missing gardening but lacking space. You suggested adding optional Garden Boxes and improving the rest of their backyard in the same proposal, which they loved.
At the bottom of the screen, you'll be asked how many Landscape Work Areas are in this project (e.g., Patio Area, Backyard, Front Yard). For this design we have:
- The Patio Area (outlined in blue) is what the client originally requested.
- The Garden Box Area (outlined in red) is the optional addition.
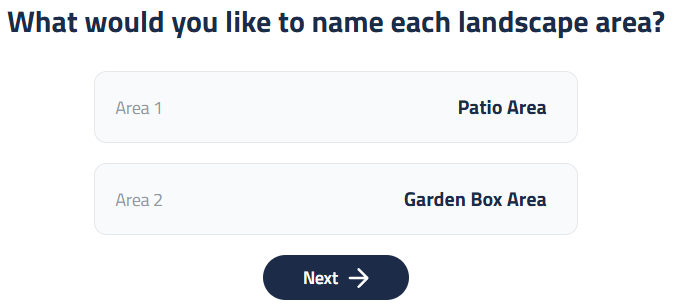
Enter "2" for the number of Landscape Work Areas, then click Next. Rename the first area as Patio Area and the second as Garden Box Area, then click Next.
Landscape Work Areas help structure your proposal clearly and function as a powerful sales tool within the ISPS system.
Assigning Landscape Sections to Work Areas
After setting up your Landscape Work Areas, the next step is to assign the appropriate Sections, the specific landscape elements that will be included in each area. This process helps organize your proposal and ensures that each part of the design is clearly defined.

Select Prebuilt Sections
Start by using the menu of prebuilt landscape Sections available in the software. These include commonly used elements such as Beds, Plants, Lawn, and Pavers. Simply select the Sections that match your design. For example, in our sample design, we selected Beds, Plants, Lawn, and Pavers directly from the menu. As you click the sections you want to add, they will be listed at the bottom of the screen to be included in the landscape. This approach allows you to view all the options for a landscape, helping you ensure nothing is missed or forgotten as you're building.
Add a Custom Section
If your design includes an element that isn’t listed, such as a Firepit, you can create a custom Section. Here’s how:
- Click the plus (+) icon next to the Sections list.
- Type the name of the new Section (e.g., “Firepit”) and press Enter.
Organize Now, Adjust Later
While you can always add more Landscape Work Areas or Sections later during proposal development, completing this step early helps you stay focused and organized. It allows you to concentrate solely on the landscape design without being distracted by other tasks. Benefits include:
- A clearer structure for your proposal that’s easier for clients to understand.
- A streamlined workflow that keeps your design process efficient and focused.
Use Section Templates (Optional)
Some Sections include a dropdown arrow, which opens a menu of available templates. Templates are a powerful feature that allow you to prebuild Sections with predefined lists of materials, equipment, labor, and subcontractors.
Although you haven’t saved any templates yet, this feature will become increasingly valuable as you build your library. Templates make it faster and easier to create consistent, professional proposals for future projects.
Updated on: 01/09/2026
Thank you!