Account Settings
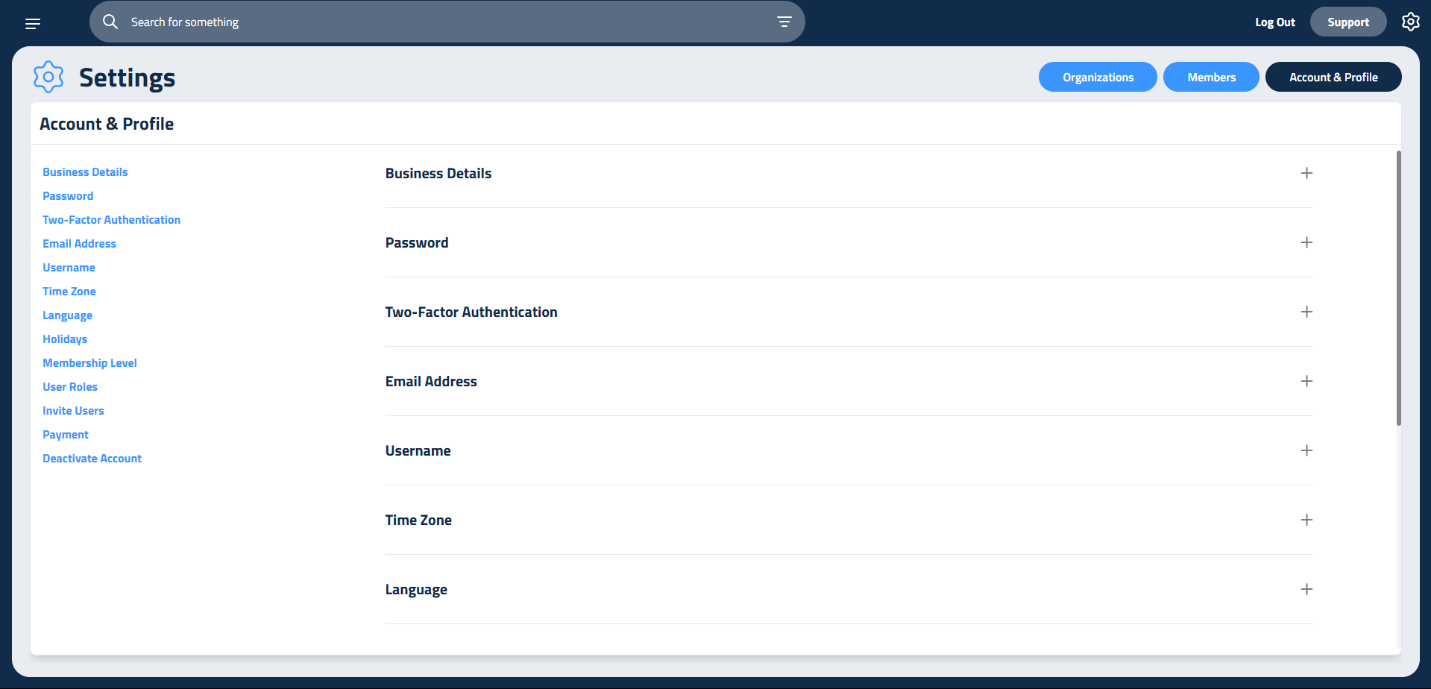
If you have an Owner/Admin or Manager role, you can access your Elevation Advisor account settings by clicking the gear icon in the top right corner of your screen. This is your hub for managing everything, from updating your account details to editing business info and overseeing your company’s users.

Account & Profile
Here you can manage your business info and personal preferences.
- Business Details: Update your company name, contact info, logo, work hours, and season.
- Security Settings: Change your password or turn on Two-Factor Authentication for extra login protection using a one time code for each login (it’s off by default).
- Preferences: Edit your email, username, time zone, and language.
Holidays
Manage your company’s time off:
- Default holidays are included, you can remove or add your own.
- Hover over a date to see the holiday name.
- Click Add Date to include a new one.
- Click Update Holidays to save your changes.
Membership Level
View or change your Elevation Advisor plan:
- Any changes will take effect in your next billing cycle.
- Click Update Membership Level when done.
User Roles
Enable roles like Admin, Foreman, or Scheduler based on your team structure. These roles can be assigned when adding new users.
A guide to each available User Role is provided below the role assignment section.
Feature / Section | Owner/Admin | Manager | Estimator/Sales | Sales | Accounting | Foreman/PM | Field |
|---|---|---|---|---|---|---|---|
Dashboard | ✅ | ✅ | ✅ | ✅ | ✅ | ✅ |
|
Proposals | ✅ | ✅ | ✅ | View Only | View Only |
|
|
Projects | ✅ | ✅ | ✅ | ✅ | ✅ | No Budget $ |
|
Invoicing | ✅ | ✅ | ✅ | ✅ | ✅ |
|
|
Smart Calendar | ✅ | ✅ | ✅ | View Only | View Only | View Only | View Only |
Profit Genie | ✅ |
|
|
|
|
|
|
Expenses | ✅ |
|
|
| ✅ |
|
|
Labor | ✅ | ✅ |
|
| ✅ |
|
|
Reporting | All | All | Materials Only | Materials Only | All |
|
|
Materials | ✅ | ✅ | ✅ | ✅ | ✅ |
|
|
Equipment | ✅ | ✅ | ✅ | ✅ | ✅ | View Only |
|
Subcontractors | ✅ | ✅ | ✅ | ✅ | ✅ | View Only |
|
Clients | ✅ | ✅ | ✅ | ✅ | ✅ | View Only |
|
Settings | ✅ | ✅ |
|
|
|
|
|
Time Reporting | Full | Full | Self Only | Self Only | Full | Full | Self Only |
Invite Users
To add a new team member, enter their name, email address, and role. Select Add Another User to continue adding additional members. Once all entries are complete, click Send Invite.
Each user will receive an email containing a temporary password. Upon their first login, they will be prompted to create a new password for security purposes.
Updated on: 11/20/2025
Thank you!