How to Add Expenses
This section is key to setting up your financials correctly, and I’m going to walk you through it in a friendly, step-by-step way. We’ll cover the four main sections, and I encourage you to stick with me through the whole process. Understanding each part fully before entering your expenses will make everything smoother and help ensure your numbers are spot-on.
Before we get into the details, let’s talk about why this page is so important. The expenses you enter here serve two big purposes:
- They feed into the Profit Genie, which calculates how much you need to charge to hit your profit goals for the year.
- They act as your annual budget.
For example, if you budget $1,000 for small tools but end up spending $10,000, that $9,000 overspend comes straight out of your profits. Some expenses, like a phone bill, are pretty fixed, but others, like small tools, are more flexible and require careful budgeting. When setting these, think about what you currently have, what you want, and what you’ll need for the year ahead to set realistic numbers.
Let’s dive in!
Step 1: Overhead Expenses: The Core of Your Budget
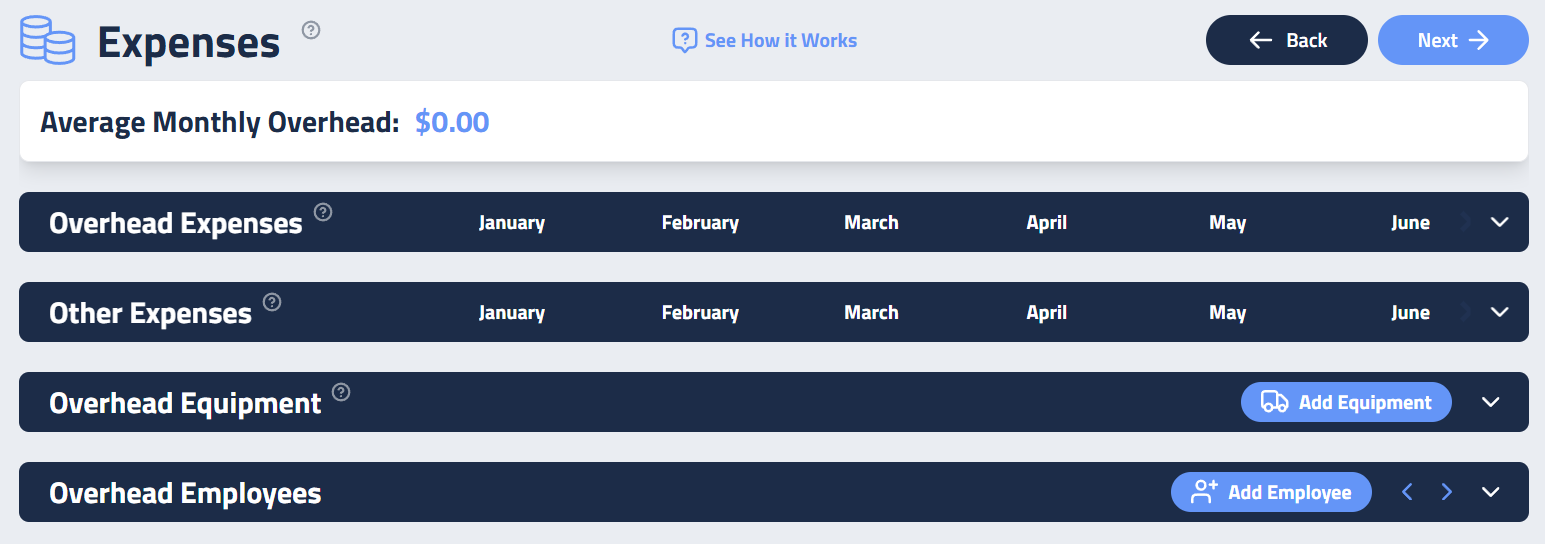
You can add these expenses in a couple of ways:
- Lump Sum: Enter a single total monthly overhead. It’s quick, but risky. It’s easy to get this number wrong, which can throw off your entire year’s financials. Plus, as expenses change month to month or year to year, tracking adjustments in one big number gets messy.
- Category Breakdown (Recommended): Take the time to break down your expenses by category. This aligns closely with your QuickBooks Profit & Loss categories and gives you clarity and control.
To add an expense:
- Click the down arrow to expand the Overhead Expense section.
- Find the right category (e.g., Insurance).
- Click Add Expense to open the sidebar.
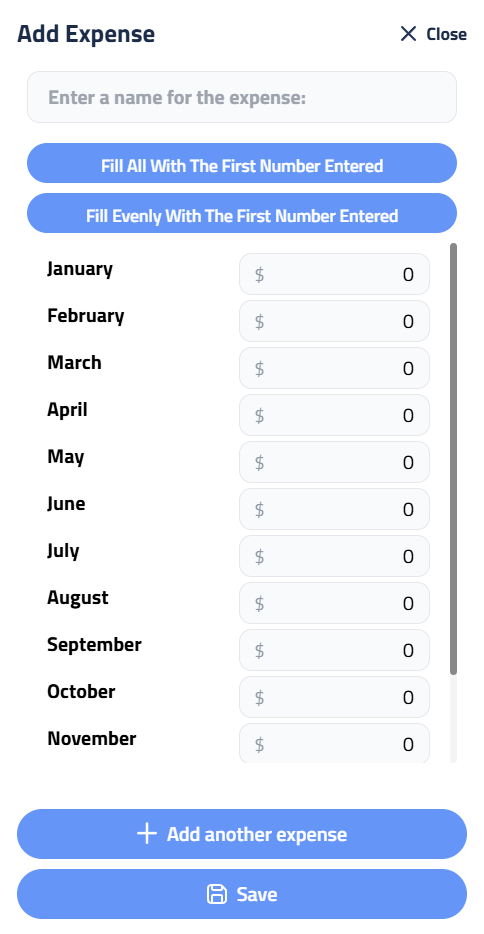
Let’s say you’re adding general liability insurance, which costs $12,000 annually. You can enter it as $6,000 in January and $6,000 in June if you pay it twice a year. Or, if you prefer to see it as a monthly cost, enter $12,000 in January, click Fill Evenly with First Number Entered, and the software will spread it across the months.
For something like a cell phone bill, which comes monthly:
- Find the Utilities category.
- Click Add Expense.
- Name it “Cell Phone.”
- Enter the monthly amount in January.
- Select Fill All with First Number Entered to apply it across the year.
If you don’t see a category you need, click Add New Category to create one.
Step 2: Other Expenses
Next up is the Other Expenses section, this is where you add unique costs that don’t fit into your standard QuickBooks overhead categories. Think things like:
- Commissions
- Employee bonuses
- Food for staff
- Miscellaneous expenses
It’s always recommended to add a Miscellaneous Expense here. It’s a lifesaver for covering unexpected costs that pop up during the year. A good rule of thumb is to set this at 5–10% of your total overhead.
Example: If your monthly overhead is $30,000, budget $1,500 to $3,000 for miscellaneous expenses.
You add these the same way as overhead expenses. And remember, any costs you spend outside of what’s budgeted here will cut into your profits. So if you want to cover bonuses or team lunches without eating into your bottom line, make sure they’re budgeted in this section.
Step 3: Overhead Equipment and Employees
The last two sections, Overhead Equipment and Overhead Employees, are typically pre-filled based on the work you’ve already done in the Labor and Equipment sections of the software.
In most cases, you won’t need to touch these, as they pull in the relevant data automatically. If you do need to make adjustments, the process is similar to the other sections.
Final Tips Before You Start
Once you’ve completed all sections, review everything carefully. Getting this page right is the key to accurate proposals and hitting your profit goals, so don’t rush it.
💪 You’ve got this!
Updated on: 10/29/2025
Thank you!