Account Settings
Settings is where you set up your company and your own login: your business info and logo, the season and work schedule Profit Genie prices from, your team, your Elevation Advisor billing, and online payments.
To open it, click the gear icon in the top right corner of the screen. You'll land on Account & Profile. Click a section name on the left (or the + next to it) to open that section.
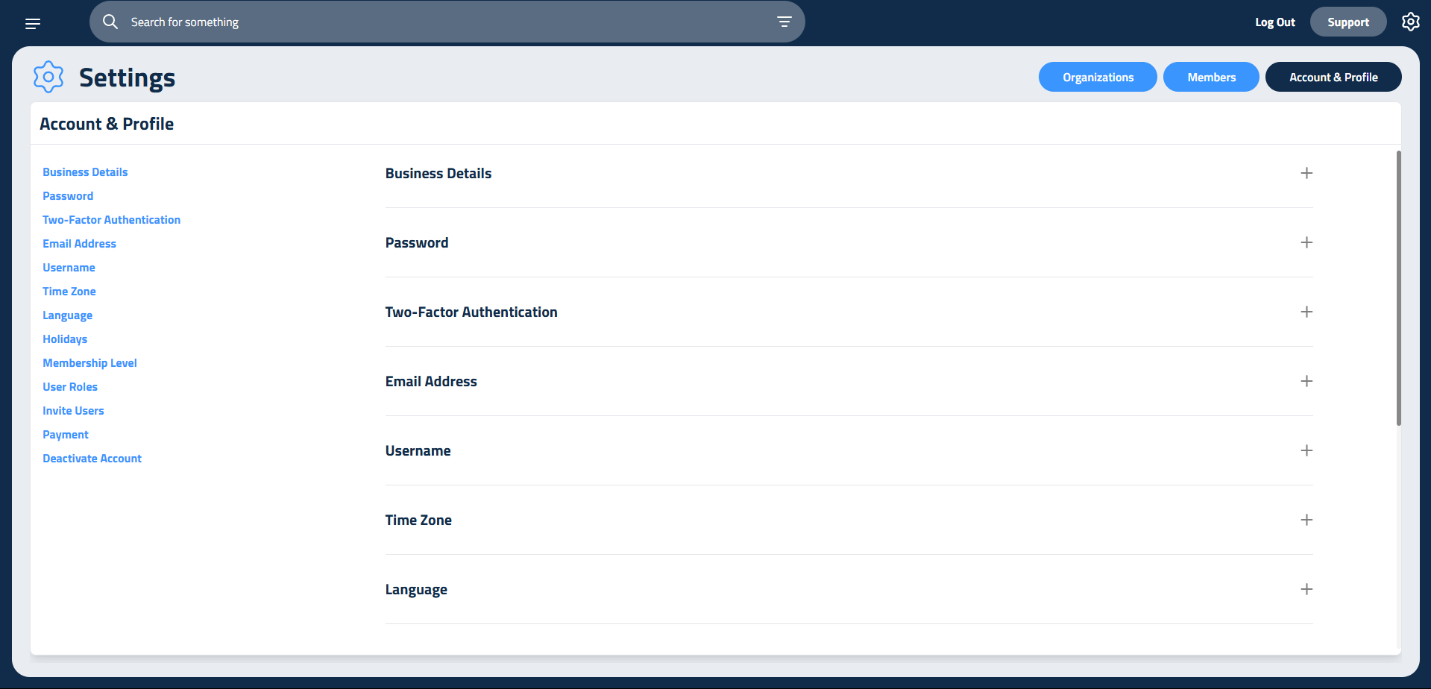
What You See Depends on Your Role
Section | Owner/Admin | Manager | All other roles |
|---|---|---|---|
Password, Email Address, Username, Language | ✅ | ✅ | ✅ |
Business Details, PDF Footer Texts, Time Zone, Holidays | ✅ | ✅ | |
Invite Users | ✅ | ✅ | |
Billing Portal | ✅ | ✅ | |
Integrations (Stripe) | ✅ | ✅ | |
Members tab | ✅ |
"All other roles" means Estimator/Sales, Sales, Accounting, Foreman/PM and Field. Integrations only shows once online payments are turned on for your account.
Business Details
This is the company info your clients see, plus the work schedule Profit Genie uses to set your prices.
Company info
- Business Name, Business Email, Business Phone
- Business Address, City, State, Zip
- Business Logo: drag and drop an image onto the box. To replace it, click the red X on the current logo, then drop in the new one. Your logo shows on your proposals, your invoices and the emails your clients receive.
Season and work schedule
- Season Start and Season Ends: the first and last day of your working season. Click the date to pick from a calendar.
- Hours per day: a normal crew day. Decimals are fine, for example 8.5.
- Days per week: how many days a week your crews work.
- Holidays: how many holidays your crews take off during the season.
- Overtime per week: filled in for you. It's Hours per day times Days per week, minus 40. For example, 10 hours a day for 5 days is 50 hours, so it shows 10. You can't type in it; change the hours or days and it updates.
When you're done, click Save Business Details.
You don't need to re-enter your season every year. If the dates still show last year, Profit Genie moves them forward to the current year for you. Only change them when your season really starts or ends on different days.
Password
Enter your Current Password and a New Password, then click Save Password.
Your new password needs at least 8 characters, with at least one number, one special character, one uppercase letter and one lowercase letter.
Can't remember your current password? Click Reset Password By Email.
PDF Footer Texts
Three short lines that print along the bottom of your proposals and invoices:
- Left Footer Text, for example: Licensed, Bonded, Insured
- Center Footer Text, for example: your business address
- Right Footer Text, for example: your phone number
Click Save Footer Texts.
Email Address
Shows the email address on your login. To change it, type the new address and click Update Email.
Username
Your first and last name as they show in Elevation Advisor. Change them and click Save Username.
Time Zone
Your company's time zone. Elevation Advisor uses it for summary and notification emails, for times in your activity feeds, and for reminders. It's one setting for the whole company, not per person.
Pick your zone from the list and click Save Time Zone. In Arizona, pick Mountain Time - Arizona (no DST) so your times don't shift an hour in the summer.
Language
Pick a language from the dropdown to translate your screens. Translation comes from Google Translate, so a few terms may read a little off. It only changes what you see; your proposals, invoices and client emails aren't affected.
Holidays
The days your company is closed. Dates you add here show as blocked holidays on your Smart Calendar. If you picked holidays when you set up Profit Genie, they're already here.
- Each date shows as a small tag, for example Jul 4. Click the ❌ on a tag to remove it.
- Click Add Date and pick a day on the calendar to add one.
- Nothing is saved until you click Update Holidays.
This list doesn't change your pricing. Profit Genie uses the Holidays number in Business Details, so if your crews will take more or fewer days off, update that number too.
Invite Users
- Enter the person's First Name, Last Name and Email.
- Choose their role from Pick a user role.
- To invite several people at once, click Add Another User for each extra person.
- Click Send Invite. Every field on every row has to be filled in.
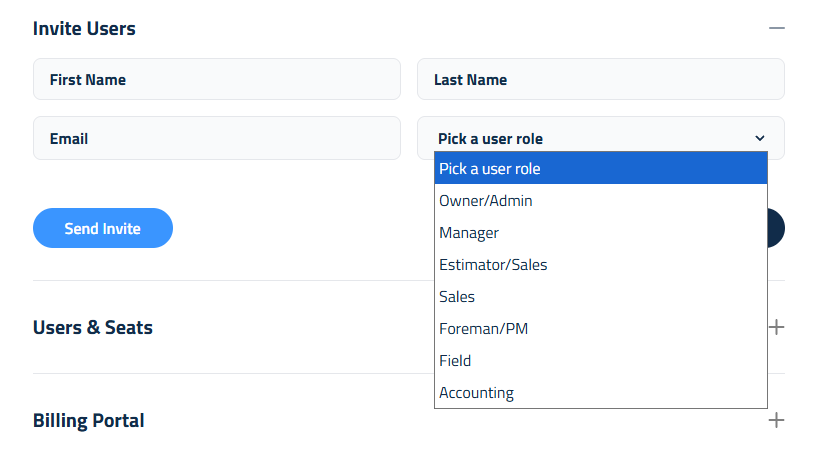
Each person gets an email with a temporary password. The first time they sign in, they'll be asked to create their own password. Until then they show as Pending on the Members tab, and Active after.
Invite didn't arrive, or the temporary password stopped working? Invite them again with the same email. That sends a fresh temporary password. If they've already signed in, you'll see "User already exists in company" instead.
Not sure which role to pick? See Users and Roles for what each role can see and do, and the role quick guides in the Onboarding section.
Members (Owner/Admin Only)
Owner/Admins see a Members tab at the top of Settings, next to Account & Profile. It lists everyone in your company with their Name, Role, Status, Email, Phone and Created At date. Use Search to find someone, or sort the list A-Z or Z-A.
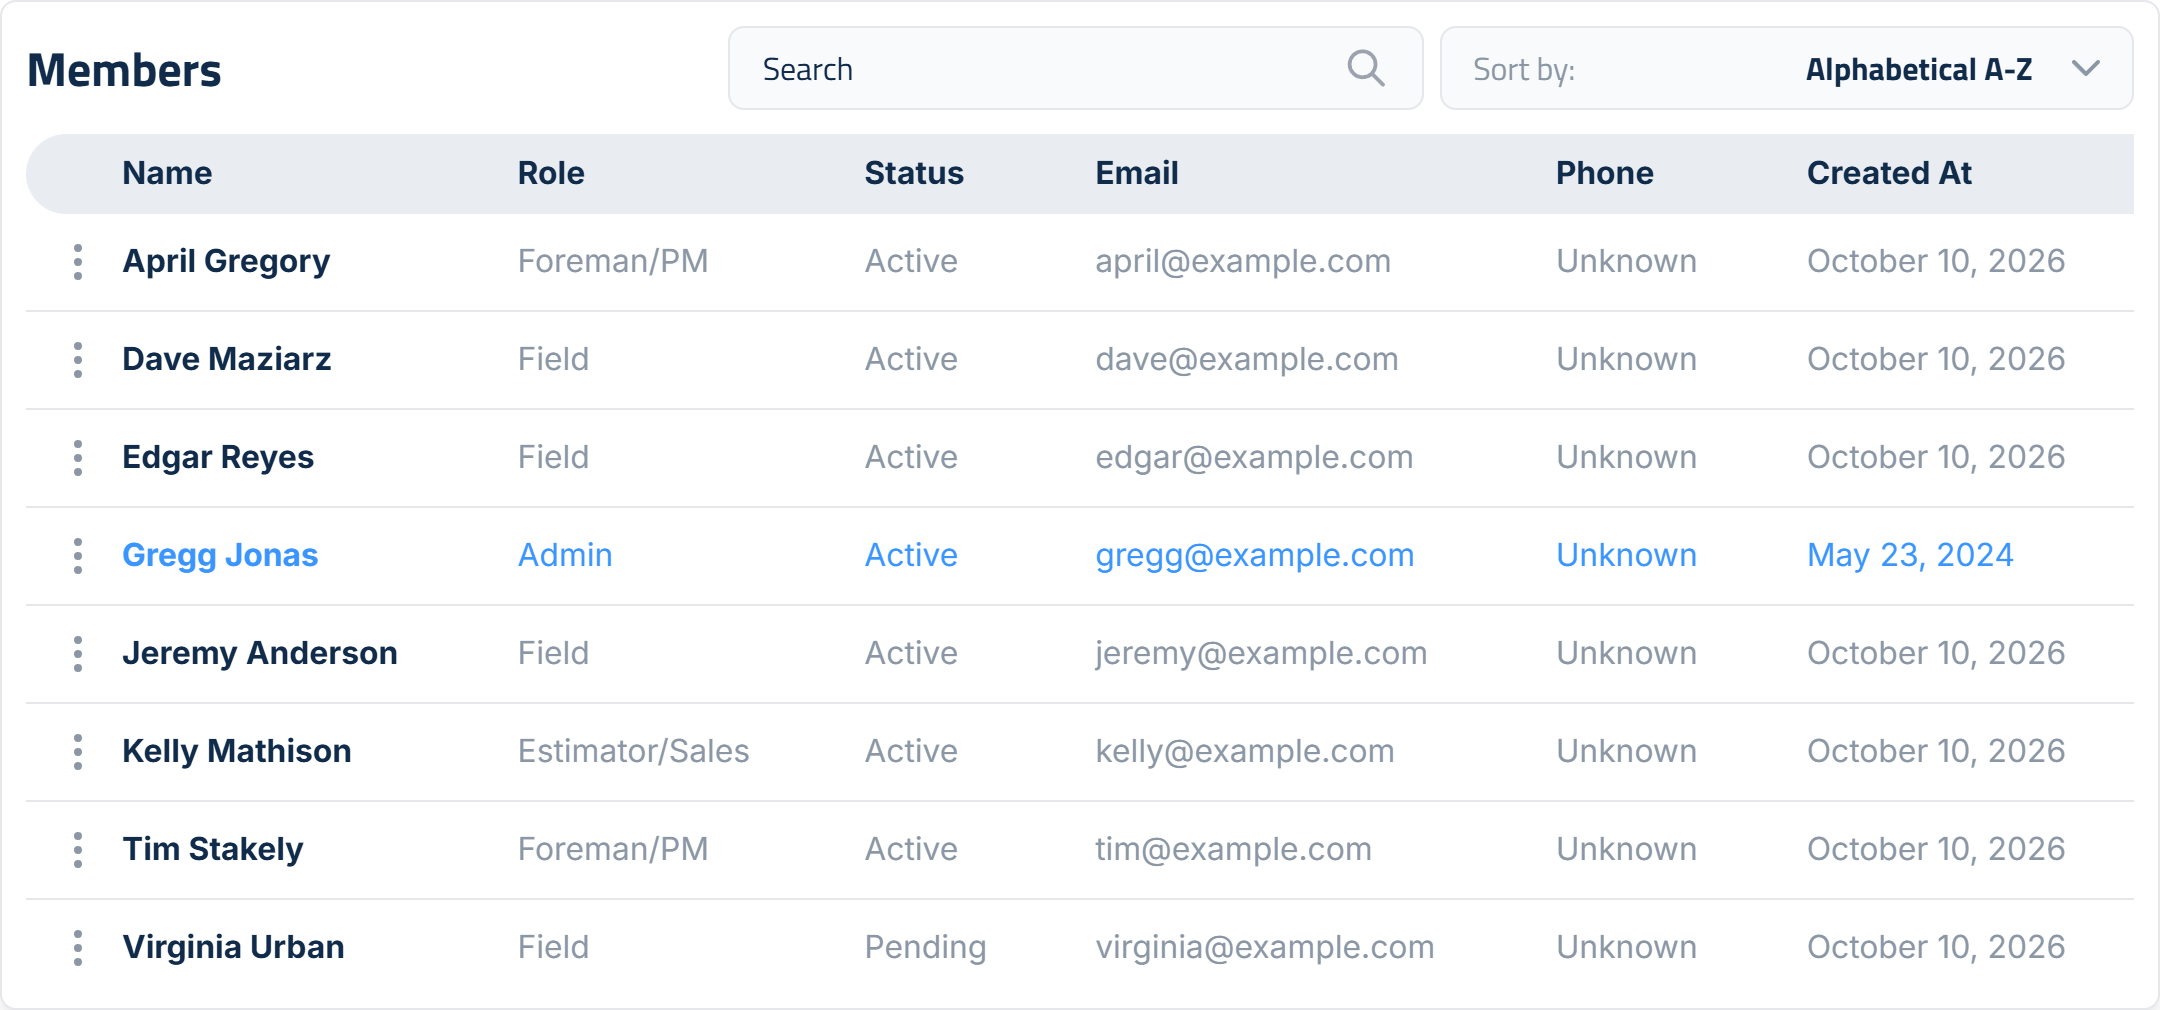
Click the three dots next to a name to:
- Edit Member: change their first name, last name, phone or role, then click Save. Their email can't be changed here.
- Delete Member: remove them from your company.
Your own row has Edit Member too, but not Delete Member, and you can't change your own role there. Change your email and password in Account & Profile.
The photo and job title that show on proposals are also set in Edit Member. See Users and Roles for the steps.
Billing Portal
This is where you get the invoices and receipts for your Elevation Advisor subscription.
- Open Billing Portal and click Enter Billing Portal. It takes a moment to open.
- You'll see every payment you've made to Elevation Advisor.
- Click a payment to see what was charged that month.
- Click Download invoice or Download receipt to save or print it.
You can also update the card you pay with here. To change your plan, reach out through Support, then Live Chat.
Integrations
Connect your Stripe account to put a Pay Online button on your invoices. Payments go straight to your own Stripe account.
- Click Connect with Stripe.
- Sign in to Stripe and approve the connection.
- You'll come back to Settings with Connected to Stripe, your Stripe business name and account number.
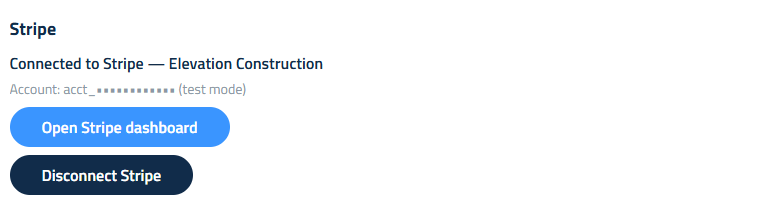
Once you're connected:
- Open Stripe dashboard takes you straight to your payment method settings in Stripe.
- If you see "Stripe has not finished verifying this account yet," finish the setup in your Stripe dashboard. You can't take payments until Stripe is done.
- If you see "The Stripe connection was revoked," click Connect with Stripe again.
For the full setup, which payment methods to allow, and how payouts work, see Getting Paid Online with Stripe.
Updated on: 10/31/2026
Thank you!